
Creating a $0 Logo
Today and throughout this week we’re talking about how to make a good logo for $0! If you missed my first blog post on this, I highly recommend reading that first which you can do here. Today we’re jumping right back into color palettes and then getting into the Canva creation.
When you’re looking for a good color palette to save, I like to think of the answers to the questions I asked in the last post. If you want to come off simple and clean, maybe neon colors aren’t the way to go. If you want to come off busy and bubbly, maybe black and brown aren’t the right colors. Once you have a few palettes saved you’ll want to head over to Canva and create your account. I promise it won’t charge you for signing up. There is a paid option, but it doesn’t automatically send you that way. I’m pretty sure after that you’ll need to go to your email to confirm your account and then you’re good to go on Canva.
After you’ve signed up and logged in to Canva you will probably see a ton of things. Several options to start projects, view things, and more. I want you to find the search bar, it should be near the top, and look for or type Facebook Cover. That's roughly the dimensions you want for your long logo. Make sure you pick a blank page with those dimensions and not a template so you don’t have to go in and delete everything. After you’re loaded in, you should see your white page to the right and a toolbar to your left. It’ll start on templates, but you should have other options like elements, uploads, text, and more. You’re going to want to start with uploading your color palettes. You’ll want to click ‘Uploads’ and upload those images you saved. Once they’re uploaded, you just need to click them and they’ll appear on your blank page.
After you’ve uploaded the color palettes I would recommend going over to ‘Text’ next and just clicking anything you see there. I’m going to click the text option that says ‘Welcome little one! Baby Taylor Finn’ because it’s at the top and it’s free. We just need text there so we can end up changing the font, size, and color. Now that we have 2 out of the 3 elements, we need to create our logo. Next we get into additional elements. So if you’re a photographer this would be the camera, for me it’s a rainbow. A little icon or graphic that matches and represents your business. When you think of McDonalds you think of the golden arches. When you think of Apple you think of the apple with a piece out of it.
You can get these elements from a few places. I recommend hiring someone to draw you something original, but there are free options on google. There’s a ton of clipart, but you really need to weed through it since you still risk using someone else's work, but Fiverr is an affordable option to get something drawn up fast ($5-$15). Also think about checking out what Canva has to offer. If you go to ‘Elements’ and search what you’re looking for, there will be a list of free and paid options. It might be worth the $2 it would cost, or you might even find a free option you like. Something to keep in mind as you’re finding this. You can’t change any colors of what you upload into canva. So if you upload a black camera, it’s going to stay black. They provide options for you to edit the image you upload which might help with slight color changes, but that’s about it. If you purchase through Fiverr you should have the option to pick your colors or customize them with whatever artist you work with. If you choose an option on Canva you’ll be able to customize the colors.
If you don’t settle on something from Canva, whatever you get or find you’ll want to make sure the file format is in a png. A png means your image has a transparent background. You’ll be able to move the elements you saved without worrying about the background being attached to it when it’s a png. I would upload your creation to Canva the same way we did earlier. So right now you should have a color palette or two, text, and some sort of elements on your blank page screen. Now we can get into the fun stuff!
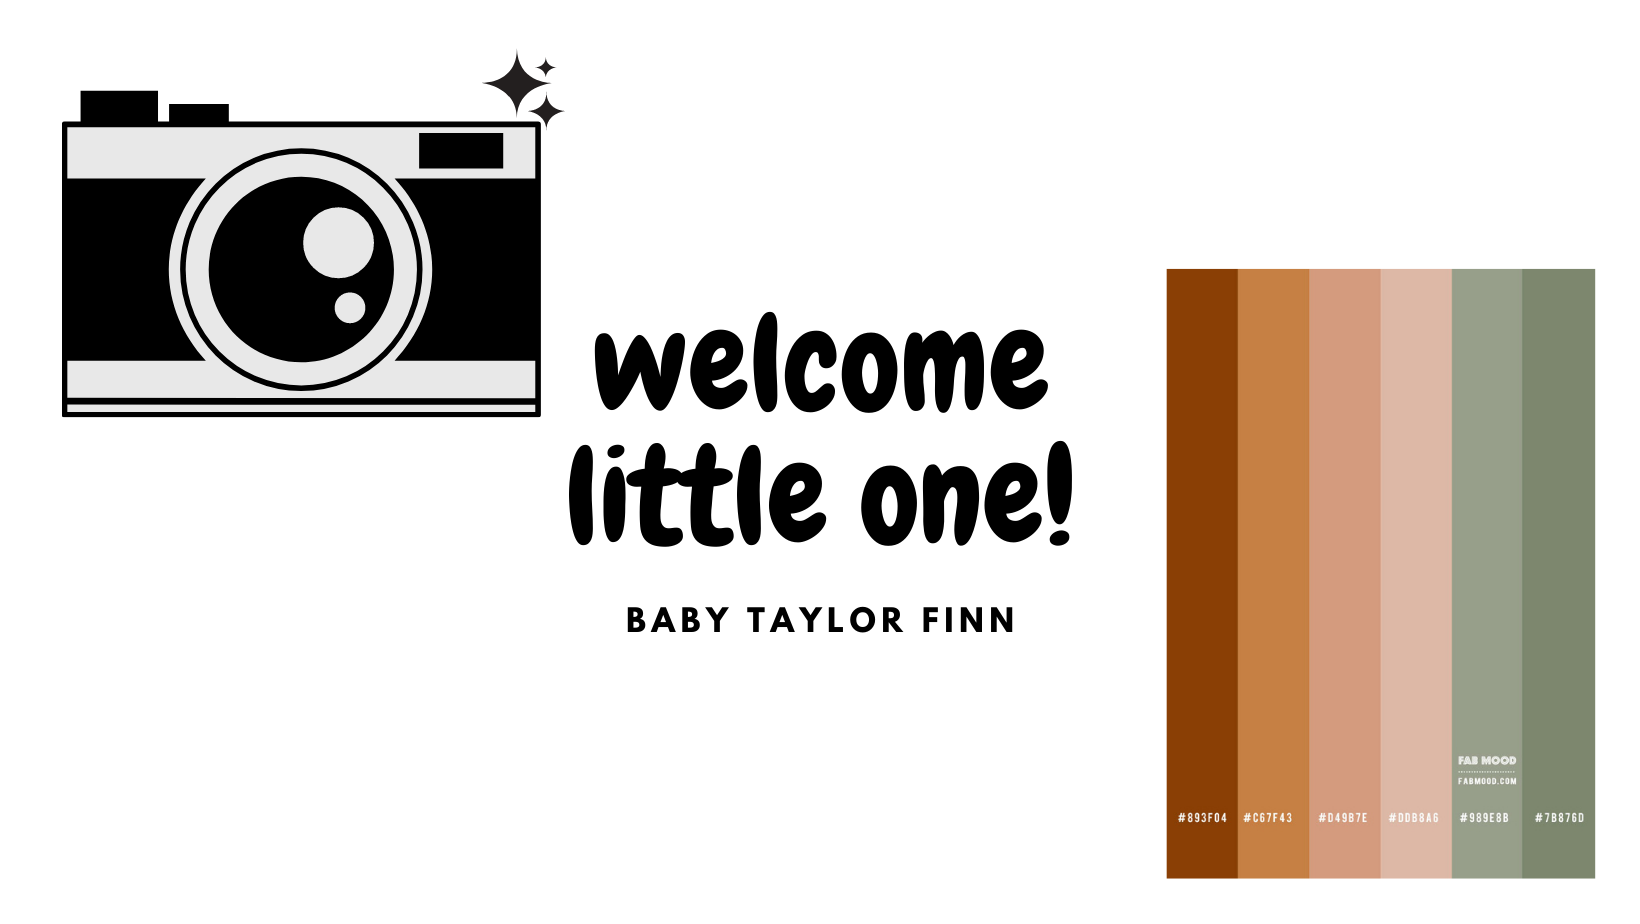
I chose a camera from Canva and I’m going for more of a boho look for my mock up photography logo. The first thing I’m going to do is change that text to my business name. If you’re using the same option as me you’ll notice the ‘Baby Taylor Finn’ part is in a different section. Just right click it and you’ll see a list of options, just hit delete. After that, type in your name and if you mess up at any point just hit Ctrl Z (it’s a lifesaver). If you’re not sure what layout you want to go with, you can look up some logos and see what you like and don’t like. I’m going to go with my design element in the front and center, and my business name under it. I want my business name to stick out from photography, so I’ll have different fonts for each to make my name stand out a little more. To copy the text you have already, just click it and then look at your customization bar across the top (you should see your font name, font size, color option, and more. Click the 3 dots and you should see another toolbar pop up and all the way to the right you should see what looks like two pages and a plus mark on one of them, that's the duplicate button).
After that, I’m going to look around in the fonts and pick something I think would work. If you struggle with what fonts go with what, you can look on Pinterest or Google. You want to make sure you can read everything super easily. If there is even a hint of “what does that say” it’s probably not the right font. For this logo I’m going to go for a script font for the business name and more of a straight font for photography, so that it's easy to read. After that I’ll adjust my font size and my design elements and line it up in a layout that I like. In our last post this week I’ll get into colors and finish the design!
See ya later.

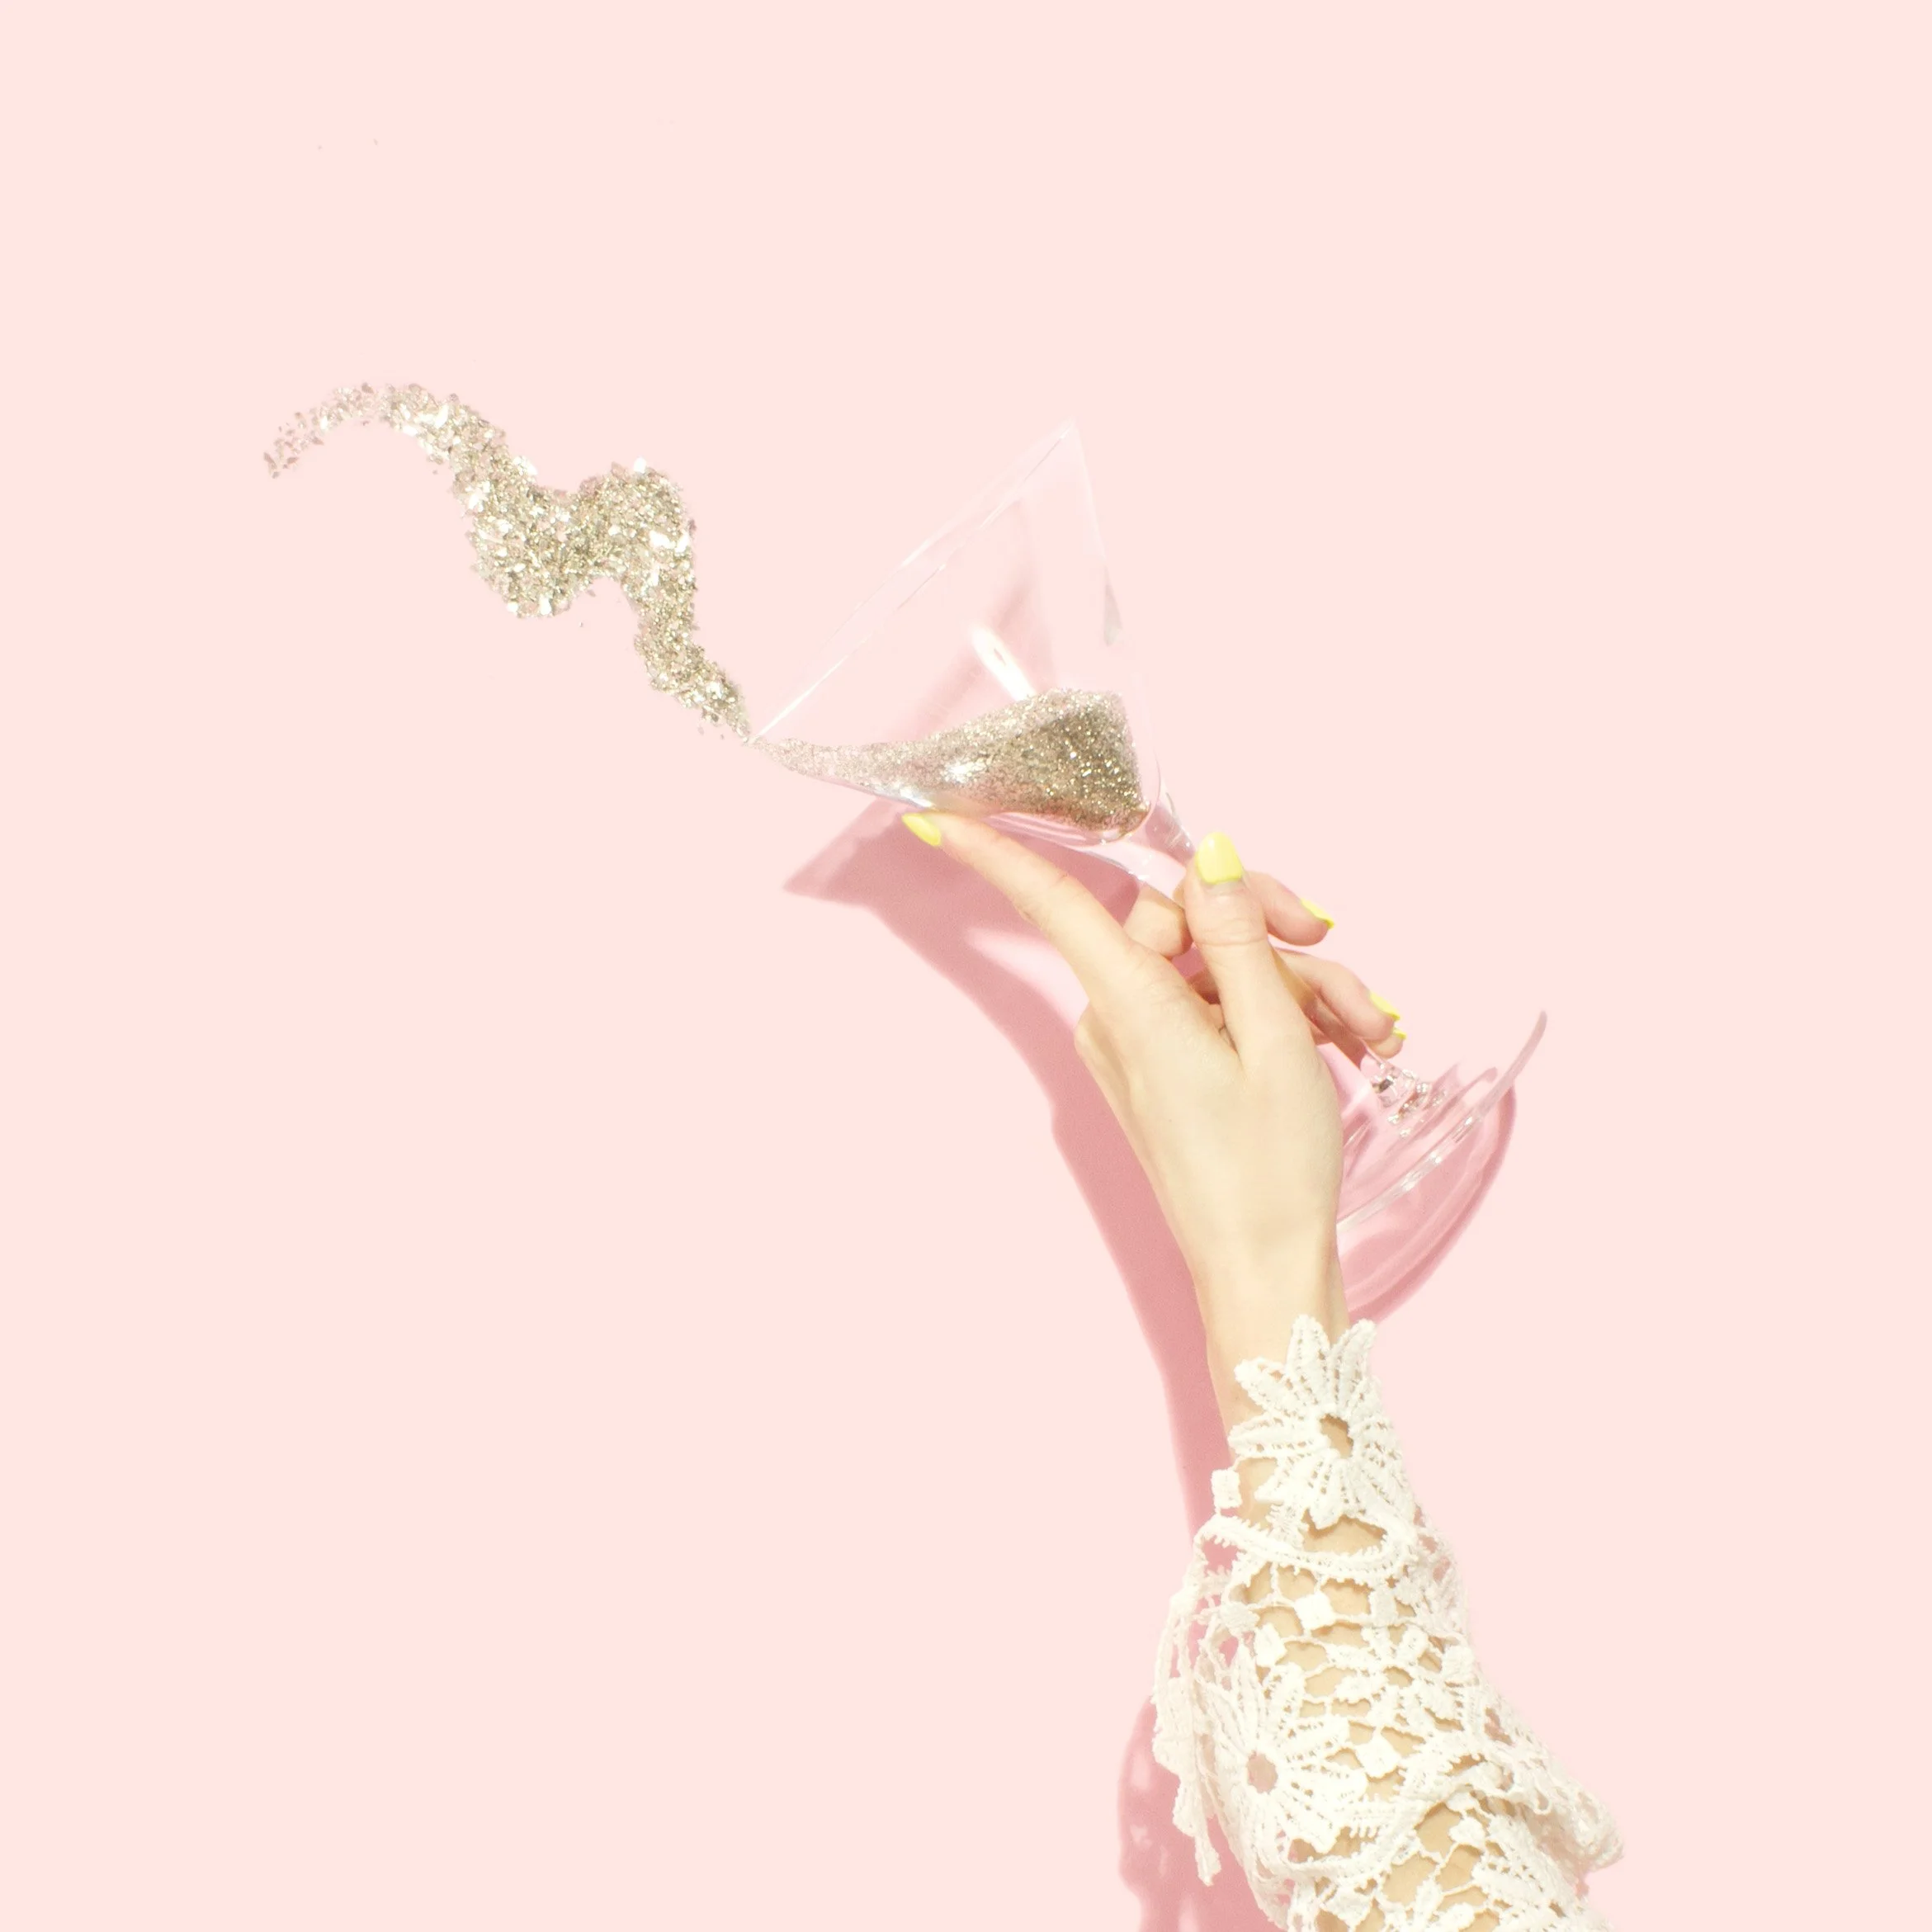
Cover photo shot by: Dorothy Louise Photography